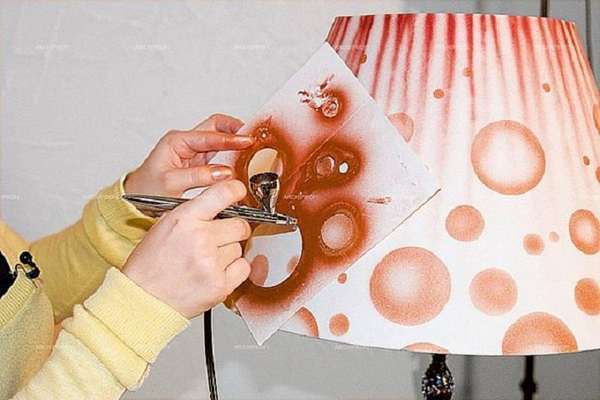
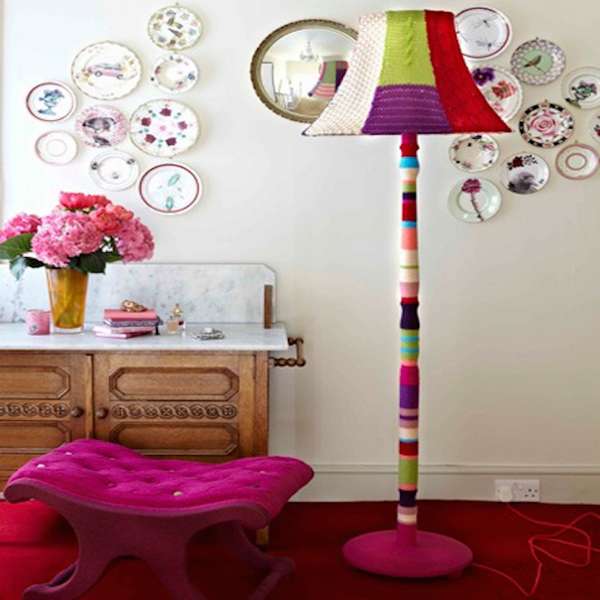
Making a floor lamp with your own hands is not at all difficult if you apply a little imagination and creativity. This task will certainly require some time, special tools and materials, but the end result is sure to please its owner. A lamp made independently will bear the features of individuality and features, since no one will have this. This creative process allows you to create floor lamps of any required size and style, which is most suitable for the room. Often it is difficult to find a suitable option for sale, and it will cost a lot, and in order to make a floor lamp with your own hands, you can use any materials at hand. Some difficulty may consist in summing up the wiring for lighting in it, but even the fairer sex can do this. So, let’s consider step by step all the processes of making a lamp at home, as well as various types of lampshade design.
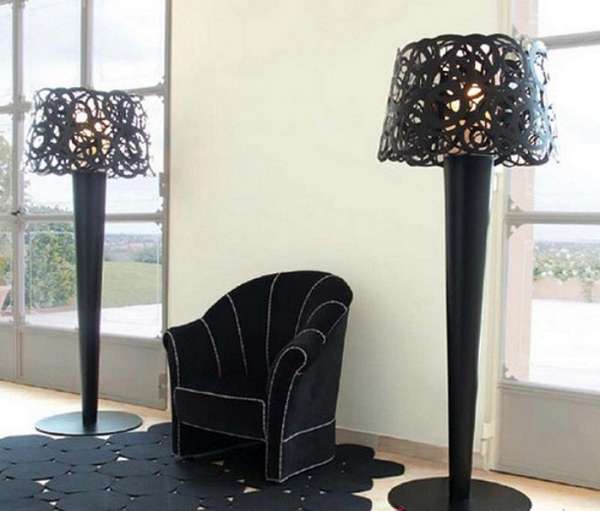
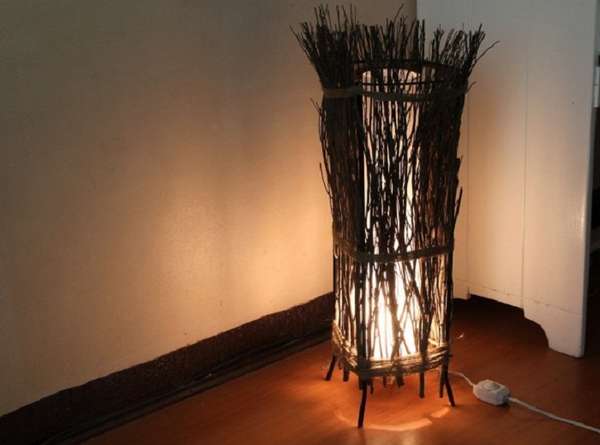
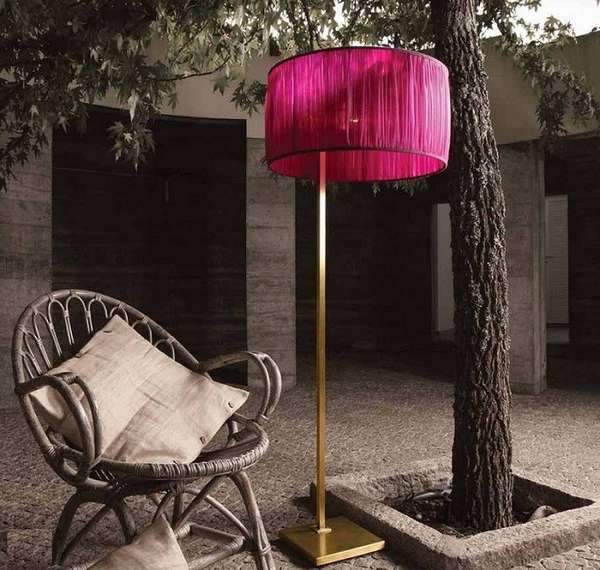

Do-it-yourself floor lamp: the preparatory process
Before starting work, you need to make a sketch of the proposed lamp, determine the desired height, shape of the lampshade and its design, and make appropriate measurements. The standard set of tools that may be needed includes: a drill, pliers, a knife, scissors, a screwdriver, special glue, a pencil and a tape measure.
We say “basic”, since, depending on a particular model, additional accessories may be needed. As separate elements, from which the floor lamp will be assembled with your own hands, are: a wooden or aluminum tube for the frame, fasteners, an electrical system that includes a cord with a plug, a switch, a socket and a light bulb, wooden boards for decorating a stand, a body (mesh, openwork plastic bucket, etc.), material for decorating a lampshade and decorative elements.
A beautiful stylish lampshade can be built using a wide variety of materials, for example, colored wire, fabric, paper, unnecessary plastic bottles, wallpaper, etc.
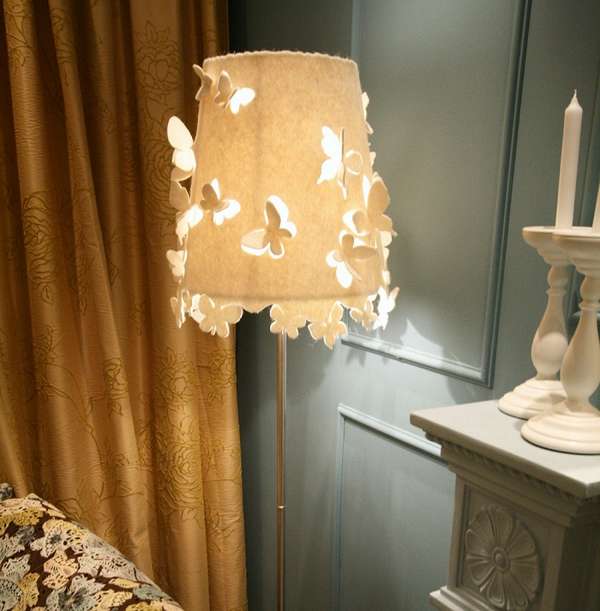
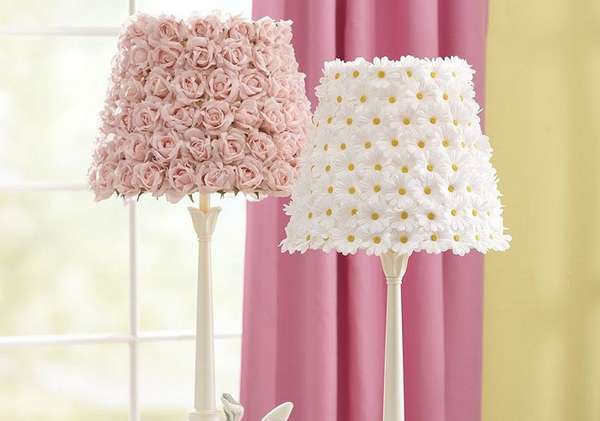
For décor, beads, beads, shells, rhinestones, fabric or paper appliqués are often used, while decoration is carried out taking into account the stylistic direction of the room in which the floor lamp will be located. The simplest approach to creating a new interior lighting item is the reconstruction of the old one.
How to update the lampshade for the floor lamp with your own hands
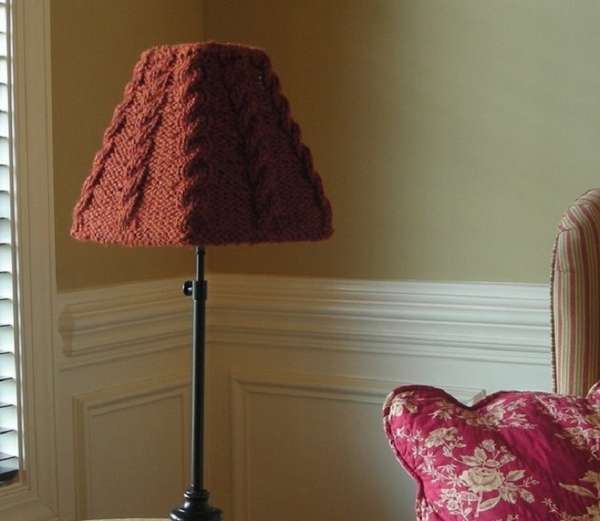
No matter how beautiful this or that piece of furniture is, and, in our case, a floor lamp, over time it may lose its aesthetic qualities, or cease to correspond to a new renovation carried out using a different style. It is not necessary in this case to resort to buying a new model – it will be enough to re-register the lampshade for the floor lamp with your own hands, and for this there are many types of implementation.
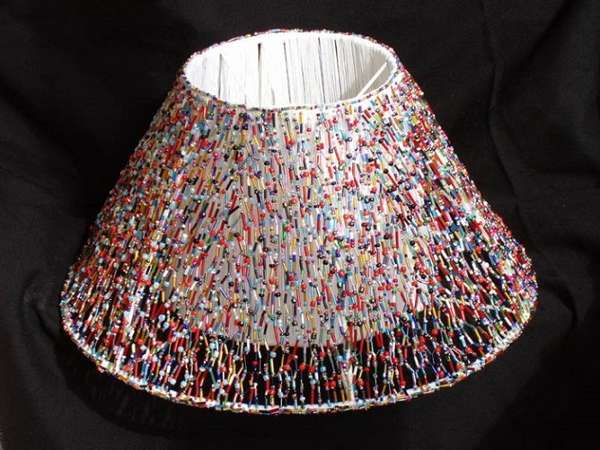
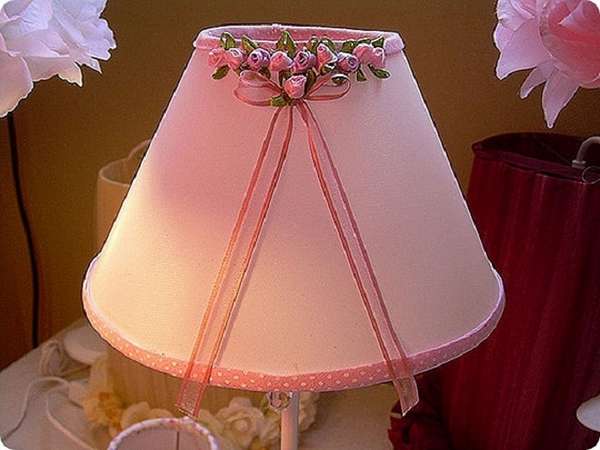
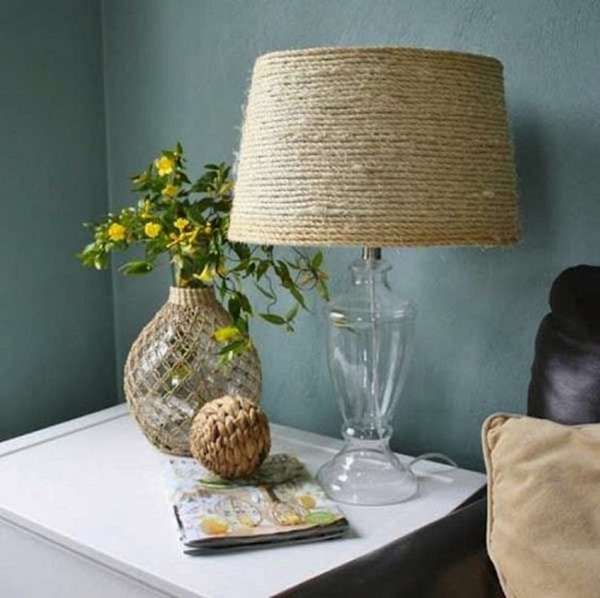
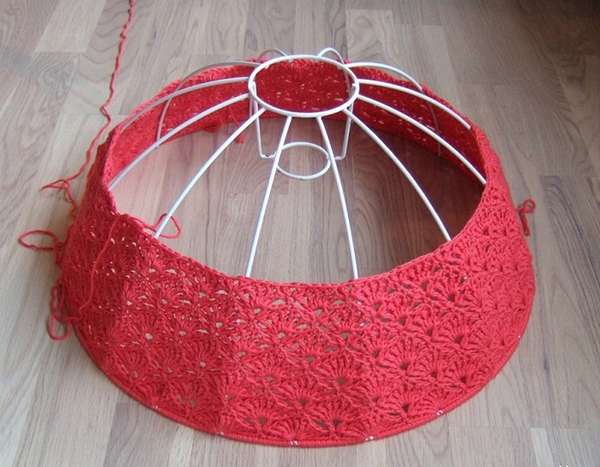
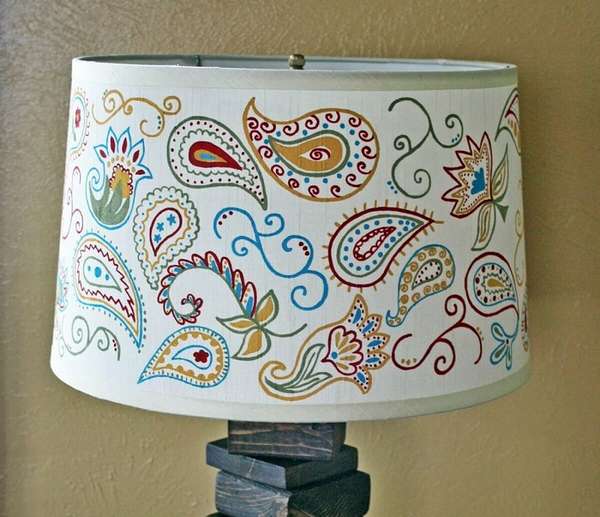
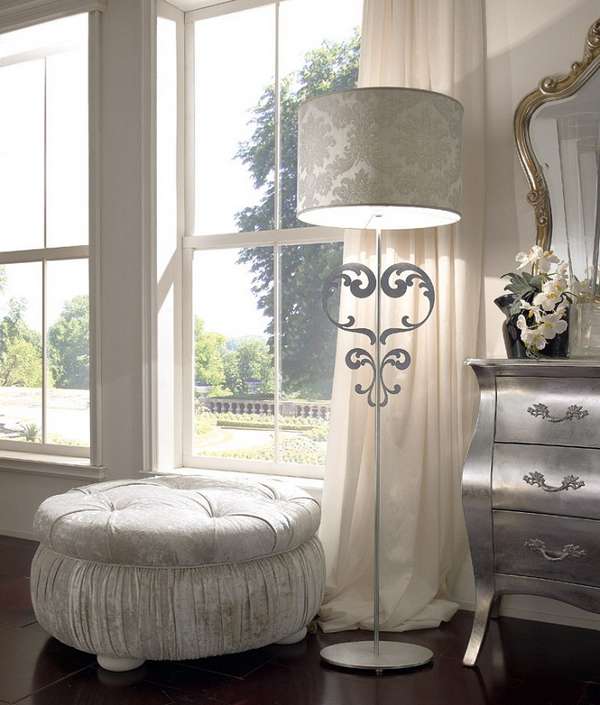
The simplest of them is to wallpaper the ceiling. All you need for this is actually wallpaper and glue special for them, which can be purchased at any hardware store. It is worth choosing wallpaper by illuminating them with a light bulb in order to immediately understand what kind of light the floor lamp will give when it is on. Having previously measured the circumference of the ceiling, we cut off a suitable piece of wallpaper. The shade must be removed from the leg of the floor lamp and wiped with a degreasing compound. After such preparation, wallpaper glue is applied to the ceiling, then wallpaper is applied and fixed on the surface of the ceiling. It is not worth pressing them too much, as unwanted bumps can form that are difficult to eliminate, while the aesthetic appearance of the lampshade will be lost. When the structure dries well, it is returned back to the leg. The updated do-it-yourself floor lamp is ready.
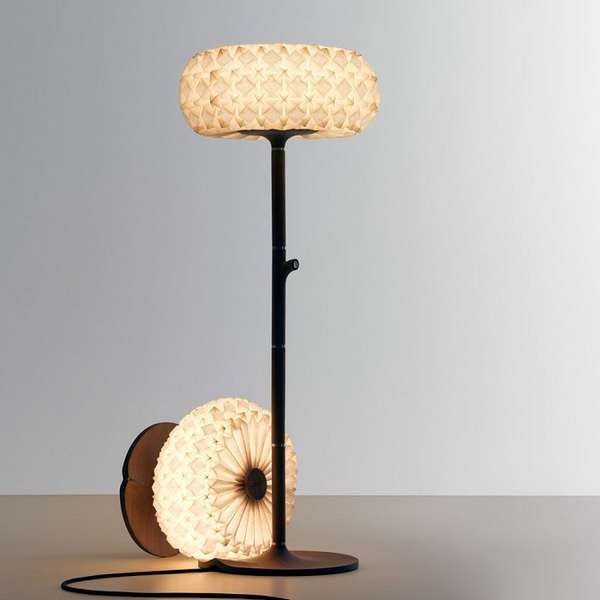
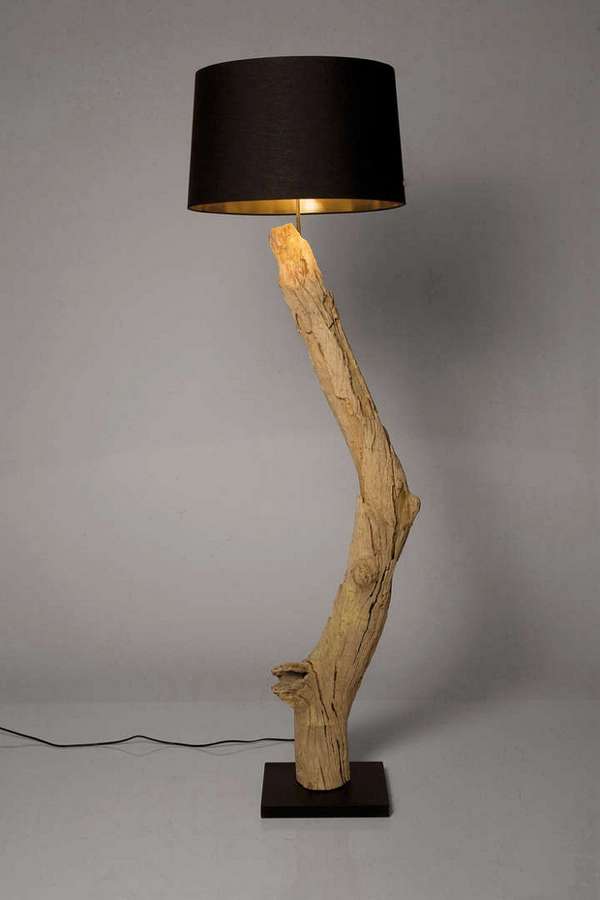
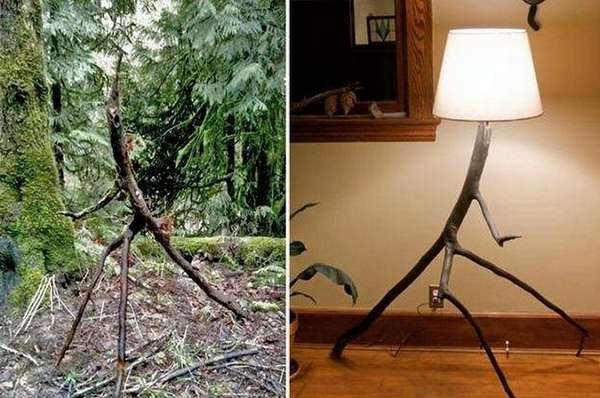
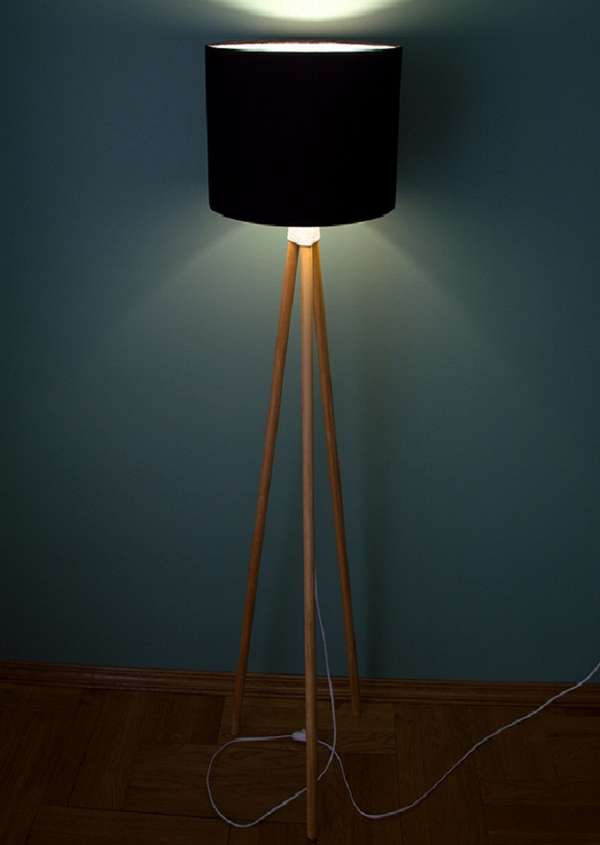
An excellent way to decorate a lampshade, as well as its partial restoration, is to use the decoupage technique. For such work, it is recommended to take napkins with a solid pattern that has shades corresponding to the interior of the room (for example, for the kitchen, you can prepare napkins with the image of fruits, for the nursery – cartoon characters, etc.).
The lampshade, initially, is primed with white matte paint. This is to ensure better grip on the wipe. After drying (about 1 hour), we begin, in fact, the gluing process itself.
It is worth noting that, in the case when the napkins are multi-layered, it is necessary to carefully separate only the layers with the pattern. Glue (PVA or wallpaper) is gradually applied to the prepared surface of the lampshade and napkins are glued. You need to act as carefully as possible, since it is quite difficult to correct an incorrectly fixed napkin without damaging it. When the ceiling is fully processed and the pattern is created, it is left to dry, and, then, once again treated with glue and left to dry for a day.
At the final stage, you can cover the lampshade for the floor lamp, decorated with your own hands, with acrylic varnish to give the finish strength and moisture resistance. Such a ceiling lamp can be decorated with beads, gluing them with a glue gun.
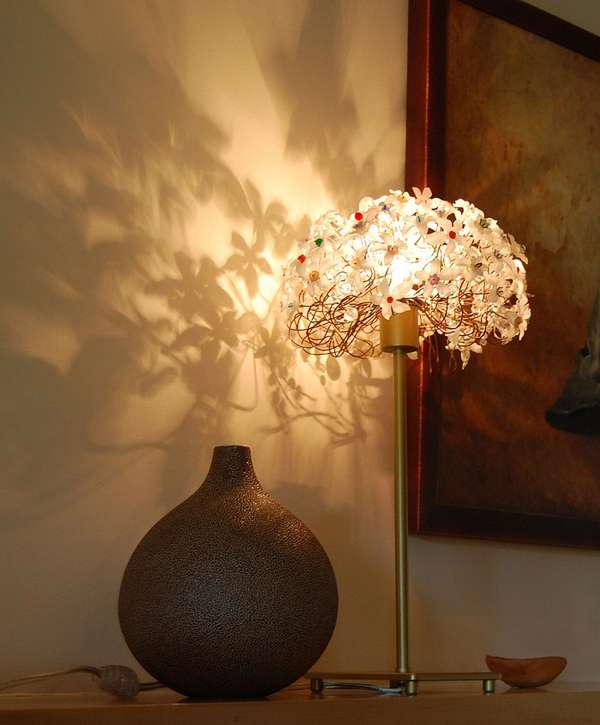
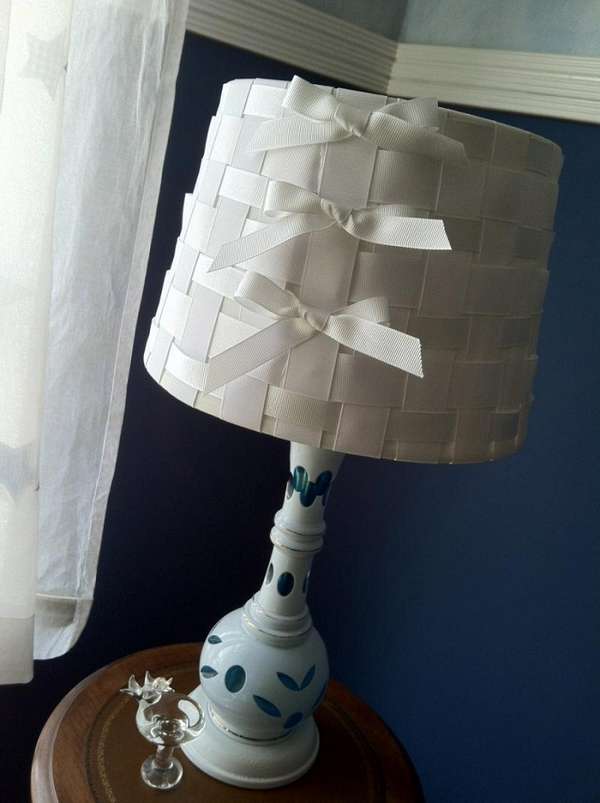
There are actually quite a lot of lampshade design techniques. Some craftswomen braid it with satin ribbons in a checkerboard pattern and decorate it with bows, use appliqués and embroidery. One of the extraordinary and original solutions for how to update the floor lamp with your own hands, and, in particular, the boring white lampshade is to glue it with used photographic film (in this case, the ceiling should have a cylindrical shape). Refracted through the frames, the light will cast bizarre patterns into the interior.
